Media Player 4 Museum
A minimalistic, Open Source Video Player.
What hardware to use
Since almost all Raspberry Pi use the same engine for video playback, it does not really matter which of them you buy. I suggest to use the Pi 3 A+ which comes in a small form factor but still features standard USB and HDMI connections. With WiFi and Bluetooth on board which could be used in future versions.
The (micro) SD card can be any card that is 4 gigabytes or more in size. A fast card will allow the player to boot more quickly, but since it runs a read-only filesystem and basically stops using the SD card after booting, you could also buy the cheapest you can get. Look for the "A1" or better rated cards, they will boot fast.
As for the USB memory to play back from, the same rules apply. Buying a more expensive one will allow you to store files quickly, but for playback, even the cheap ones will deliver 2-3 megabytes per second, which is enough for the usual data rates of HD video.
Power source should be the original Raspberry, or a good quality tablet charger, i use Samsung or Apple. It is not only about the amps the supply delivers, also the quality or stability (so to say) of the voltage matters. The operating system icon for insufficient power, which by default would indicate problems, is disabled. I suggest to do a 24h test before installing just to be safe.
Prepare your SD card with the software
Insert the (micro) SD card into your computer’s card reader. Use your favorite software to write the image onto the card, as described HERE. The card will not boot if you just copy the image onto the drive! If the image was written properly, a drive called boot should show up.
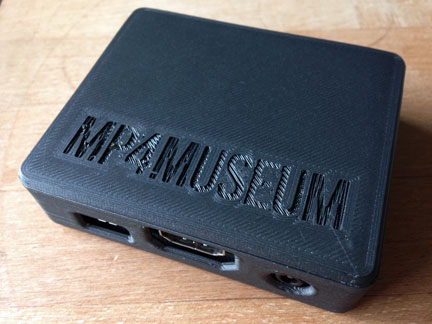
Building the optional case
If you want to use the Pi 3 A+ hardware, and make a nice case for it just like i did, you can download the models for printing the plastic case. 3D-Print the big parts in your favorite color, and check if the hardware fits nicely with all ports freely accessible. The (optional) small piece, which should be printed in clear or transparent plastic, is used to cover the LED opening on the side. It might need some glue to stay in place.
If not done yet, insert the micro SD card with the installed image into the Pi. Then, place the board inside and screw four M3 10mm counter-sunk screws until they are half way into the board.
Then put on the lid, press firmly to keep the board in place, and fasten screws until secured.
How to encode your media
First of all: Do not use Adobe products to encode your files! Somehow they screw it up.
If you experience freeze, stutter, white or green flicker, you know why.
Setup Version 3
Start with formatting your USB memory using FAT32 (maximum file size is 4gig), ExFAT, NTFS or HFS (Apple). This depends on what operating system you use.
Setup Version 2 or 1
The earlier versions of MP4Museum will only accept USB memory formatted as FAT32, which means file size should be 4 gigabytes or less.
Copy your files onto the memory stick and connect it to your Raspberry Pi. Connect the Pi to a screen or projector and power it up.
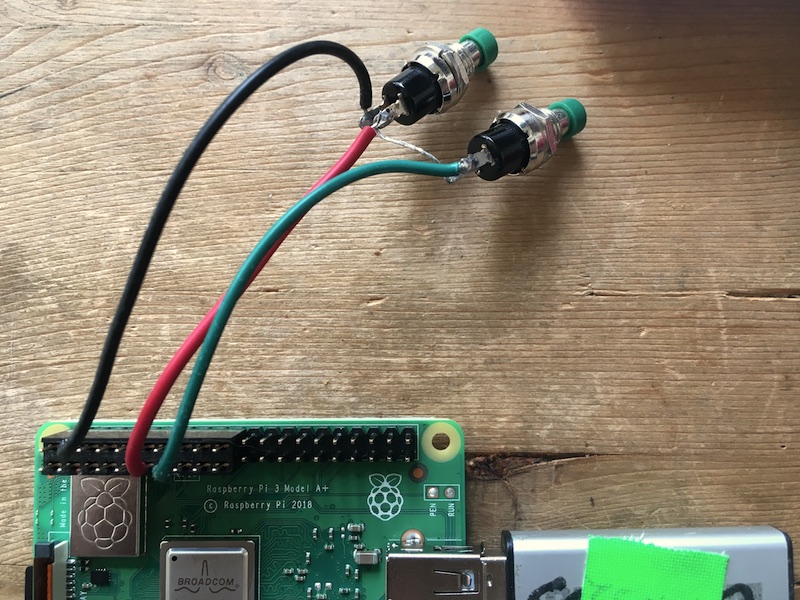
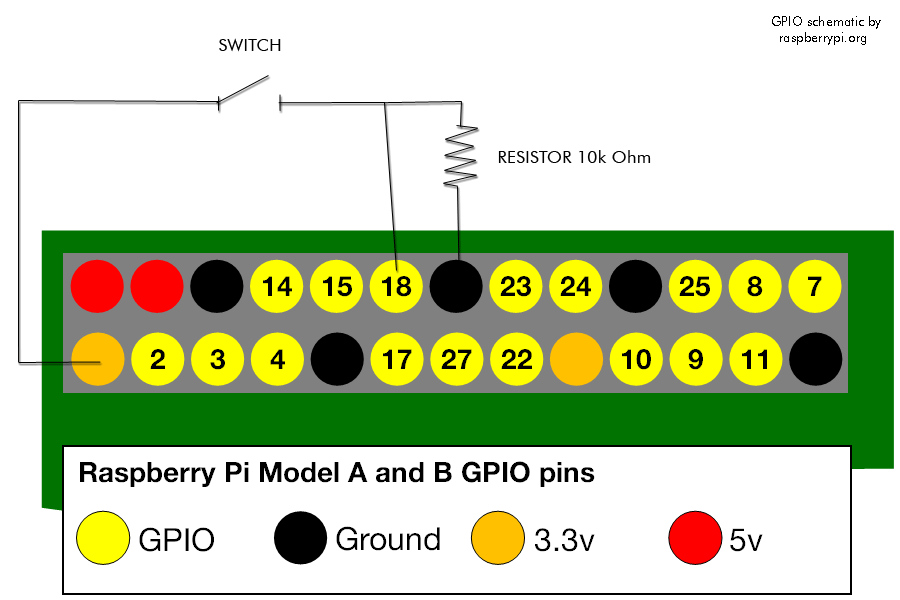
Option: Skip current file / Restart file
Sometimes your setup might need to provide a button to control playback. So far, there has been one function included in MP4Museum, which on the users request will terminate the player.
A project by Julius Schmiedel. Based on open source software and technology.
|
